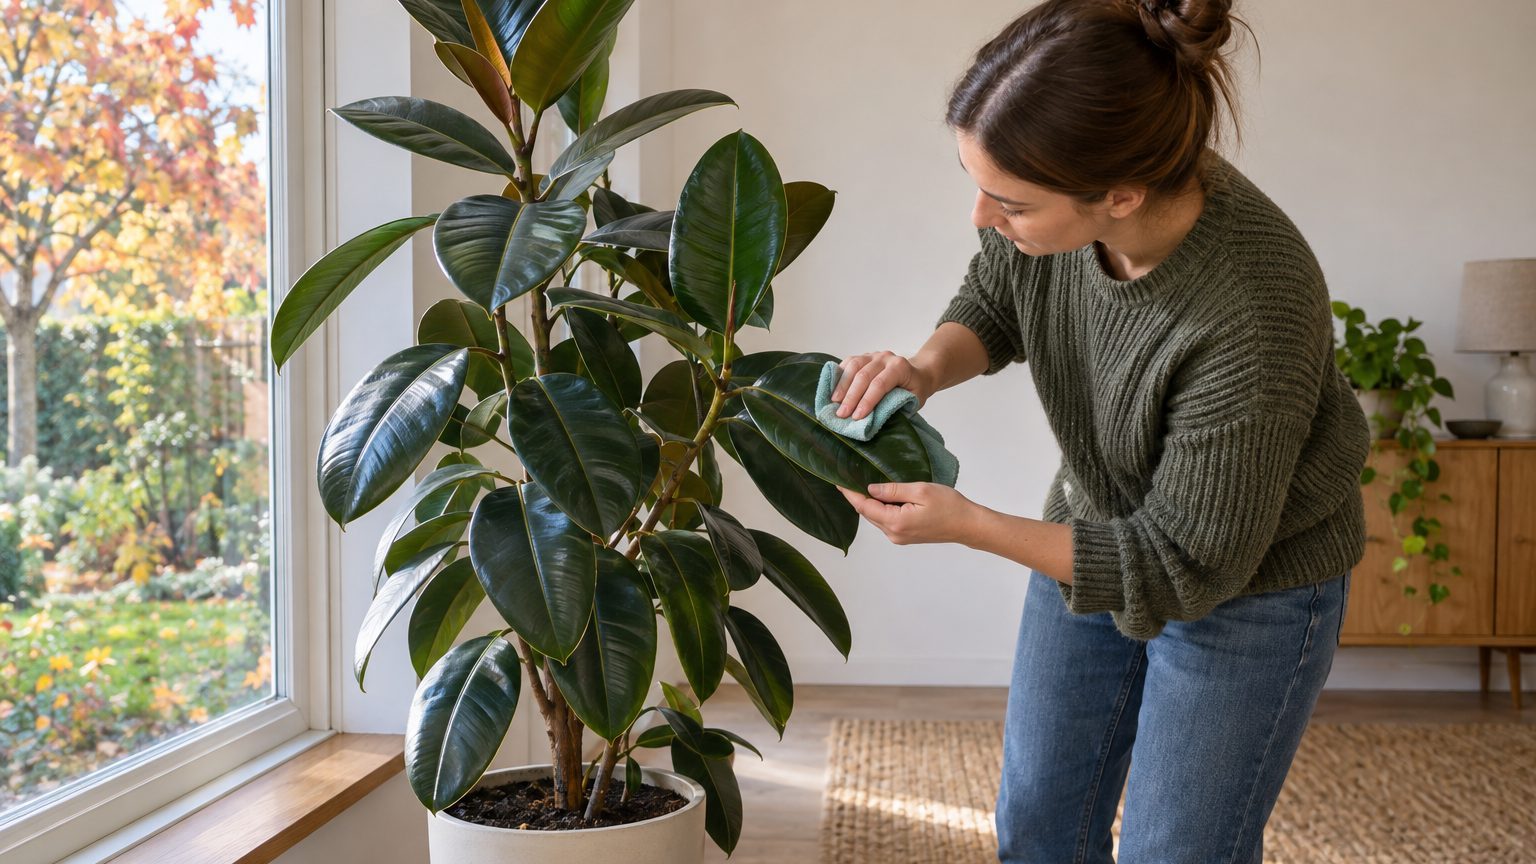
Run a fingertip across the leaf of your biggest houseplant. If it comes back gray, the plant has been working under a blanket. A rub test like this is how Ohio State extension educators suggest checking whether a plant needs cleaning, and it takes about two seconds.
That film does more than look dull.
Heavy dust can block the light and moisture a leaf takes in, and a shortage of either affects the whole plant, as Iowa State University Extension experts have pointed out. Dust piles up faster in winter, when windows stay shut and indoor air is stale. Thick, glossy leaves such as monstera, aloe and ficus show it first, the same way a black piano shows fingerprints. Knowing how to clean houseplant leaves properly matters more as heating season starts.
Match the method to the leaf
No single technique suits every plant. Leaf texture decides which one to use, and a mismatch is how people end up tearing or scarring foliage they meant to help.
Big, smooth, sturdy leaves (rubber plant, fiddle leaf fig, snake plant, dieffenbachia) are the easy cases. A soft cloth wrung out in plain water does the job. A microfiber cloth works especially well because you can wash it afterward, and the leaves go from flat to glossy in one pass.
Fuzzy leaves are a different story.
African violets, Gynura and other velvety plants trap dust in their hairs, and wiping just grinds it in. Water on the leaf can also leave marks or invite rot on these plants. Use a dry, soft brush instead, such as a mushroom brush, a clean makeup brush or a small paintbrush, and coax the dust off with light strokes while you hold the leaf steady with your other hand. Some growers even swear by a gentle lint roller on tougher fuzzy species.
Small-leaved plants like pothos and Ficus benjamina would take all afternoon to wipe leaf by leaf. A spray or shower suits them better, and I’d say it’s the only sane option. Small pots that can’t take the force of a spray can be held at soil level, flipped over, and swished in a bucket of water. Keep a hand over the soil so it stays put.
The wipe and the rinse, done right
Start with the water, because temperature matters more than people expect. Test it so it feels lukewarm on your wrist, since both hot and cold water can injure leaves. If your tap water is hard, distilled or filtered water prevents the white mineral spots that can dry on glossy foliage.
For wiping, wring the cloth out well. Support the leaf from underneath with one palm so the stem doesn’t bend, then move from the base of the leaf to the tip with almost no pressure. You are lifting dust, not buffing a car. Do the underside too, since that’s where pests like to settle and where most people never look.
Rinse the cloth often.
Once it is loaded with grit, it stops removing dust and starts spreading it around. Turn it to a clean section or dunk it in a bowl of fresh water every few leaves. A stiff brush or rough sponge is the wrong tool here, because even a little scrubbing can leave tiny abrasions on the leaf surface.
A shower rinse is the fastest route for a whole collection. Set a few sturdy plants in the tub, use a low-pressure lukewarm spray, and let the water run over both sides of the leaves for a minute or so. Let them drain before they go back to the windowsill. Rain works too if you have a mild day, and a few minutes on the porch can replace a full cleaning session.
Some leaves need more creativity. A wet toothbrush slips between the overlapping folds of an aloe, and a damp paintbrush follows the bumps and grooves on textured foliage. For cacti with long spines, a soft brush slips past the needles without a single prick. And for plants with paired leaves along a stem, like a ZZ plant, you can pinch two opposing leaves between a damp cloth and work up the stem set by set. It turns a chore into a ten-minute job.
What to leave in the cabinet
Walk through the plant care aisle and you’ll find leaf shine sprays promising a showroom glow. Skip them. Products like these can clog the stomata (the leaf’s tiny breathing pores), leave a sticky residue that attracts more dust, or burn the foliage. The same goes for the household folklore of mayonnaise, milk and olive oil.
Soap is a gray area. A few drops of mild castile soap in a few cups of water can cut through really grimy leaves, especially in a kitchen where cooking grease settles on everything. If you go that route, rinse the leaves well afterward, because soap residue can also gum up the stomata. For ordinary dust, plain water almost always does the same job, so there’s little reason to bring in anything else.
Neem oil needs its own caution. Gardeners use it to deal with pests, but it can make leaves sensitive to light, so apply it in the evening or out of direct sun to prevent leaf burn. If what you see is sticky residue, webbing or speckling rather than a plain dusty film, you’re dealing with insects, and a cleaning cloth won’t solve that.
Misting deserves a quick mention because it feels like cleaning. It rinses off a little surface dust and gives the leaves a brief shine, but it is no substitute for wiping or showering. It won’t fix a dry apartment either, since the water evaporates within minutes.
How often, and how to make it stick
A reasonable rhythm is a thorough cleaning once a month for glossy-leaved plants, and more often if you live near a dirt road, a construction site or a windy stretch where dust blows in. The fingertip test remains the best guide. In between, run a soft duster over the foliage whenever you dust the shelves, so the film never gets thick enough to need real effort.
Plants with delicate leaves and trailing stems get the lightest touch, so a quick spray and a drip-dry will serve them fine.
One more thing about timing: clean the plant before you water it, not after. A drenched pot is heavy and slippery, and a top-heavy plant on a wet cloth is how a stem snaps. Dry soil also means you can tip or tilt the pot without making a mess, which makes reaching the undersides much easier.
Sources : simplegardenjoy.com | amster.org.ua