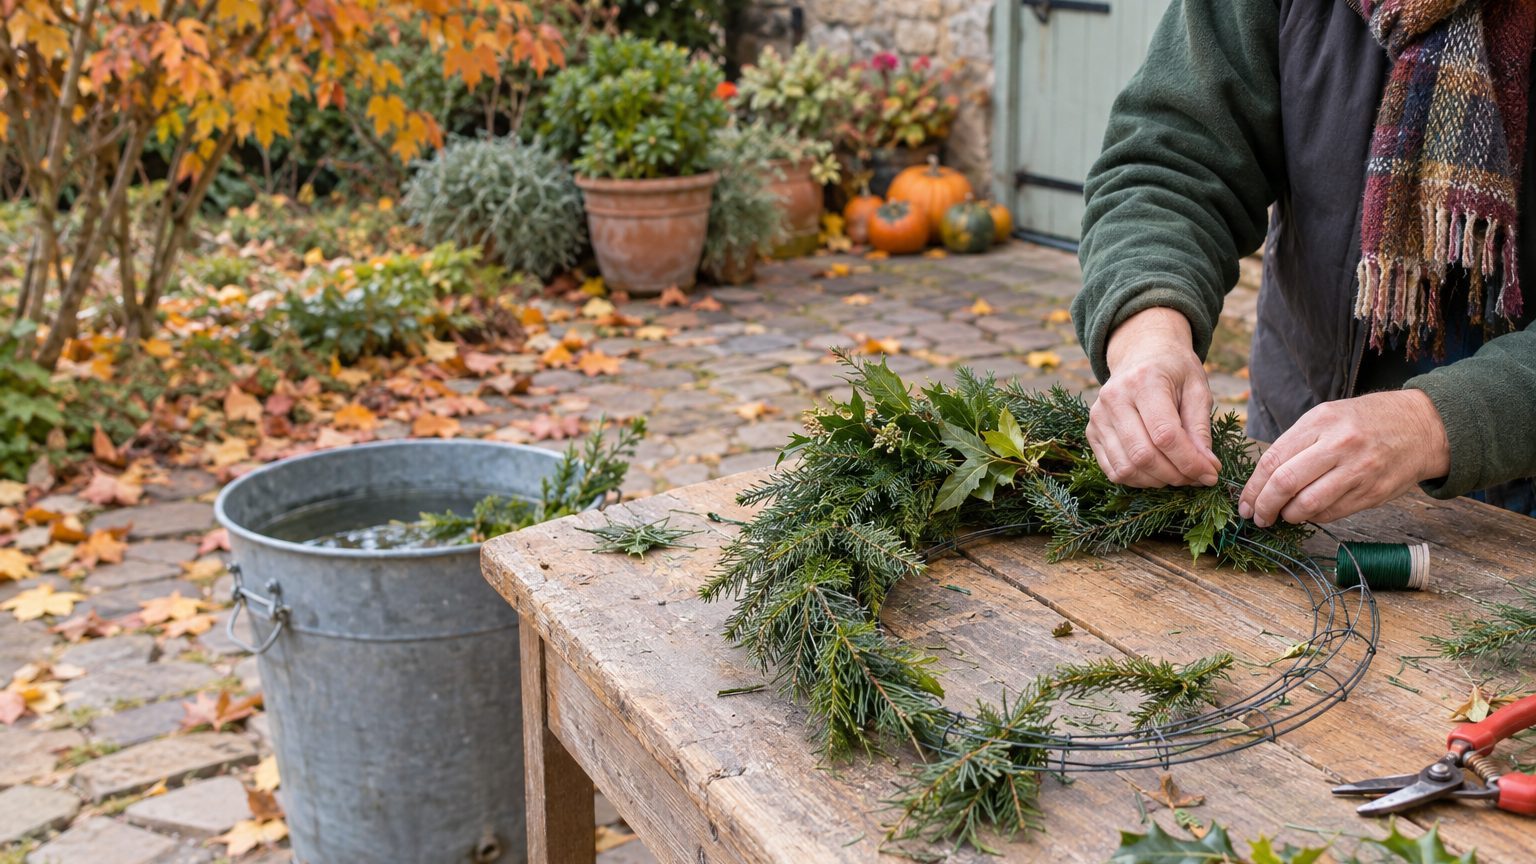
A fresh Christmas wreath needs three things: a frame, a spool of wire, and an armload of evergreen clippings. The clippings are usually already growing outside your door. Most yards hold enough boughs to fill a 14-inch wreath after a light round of pruning.
Budget an hour, start to finish.
What to cut from the yard (and what to borrow)
Variety is what separates a wreath that looks handmade from one that looks like a hedge trimming. Pine, spruce, fir, cedar, juniper, boxwood, holly and magnolia all work, and mixing three or four gives you contrasting color and texture. A wreath made from one kind of foliage reads flat, and each extra texture fixes that. Think of it as building a chord rather than playing a single note.
Longer pieces, roughly 8 to 24 inches, give the finished wreath a rustic, slightly wild outline. Shorter ones of 5 to 12 inches suit the bundle method described below. Cut more than you think you need, because the wreath always swallows more greenery than it seems it will.
Anything with a different leaf shape earns a spot. Ivy trails nicely, euonymus and sweet box bring glossy green, and poppy seed heads add a dry, architectural accent. Holly berries add color, but they are toxic if eaten, so keep that in mind if small children or pets will reach the wreath.
Short on branches? Christmas tree lots and tree farms often have lower limbs and trimmings they will give away or sell cheap.
Cut with sharp bypass pruners or loppers, and take branches evenly from around a shrub so it doesn’t end up lopsided. Only prune from your own property, or from land where the owner has said yes. Hacking boughs from a public park is a good way to meet a ranger.
Then let the cuttings sit in a bucket of water for a few hours before you trim them. That head start rehydrates the needles, and it matters later.
Building the wreath, step by step
Start with a base. A 12- to 18-inch wire frame costs a few dollars at any craft store, and a grapevine wreath makes a fuller, sturdier result at a higher price. A straw form works too, and in a pinch you can cut a ring from firm cardboard.
Prep the clippings first. Snip your branches into pieces 5 to 12 inches long, then gather three to five of them into a small bundle with the cut ends together. Most wreaths need 15 to 20 of these bundles, and a very full one takes closer to 20. Making them all ahead of time turns the assembly into a rhythm instead of a scramble.
Now the wire. Tie the end of a spool of floral or wreath wire to the frame, and do not cut it from the spool.
Lay the first bundle against the frame and wrap the wire tightly two or three times around the stems. Set the second bundle slightly overlapping the first, so its tips cover the first bundle’s cut ends, and wrap again. Keep every bundle pointing the same direction (clockwise or counterclockwise, your choice), and turn the wreath as you go. Needles should face up and out, not smashed against the frame.
When you’ve circled back to the start, tuck the last bundle’s tips under the first bundle’s foliage. Snip the wire about a foot from the wreath, which leaves enough to twist a hanging loop. Green wire disappears into green boughs, so knot a bright twist tie or a bit of ribbon through the loop to find it later.
There’s a faster path for beginners, and it needs no wire at all.
Weave 18- to 24-inch conifer branches through an 18-inch wire frame, tucking each one under the foliage of its neighbor. The frame grips the stems on its own. It takes only 6 to 8 branches to close the circle, and the whole project can run 20 minutes. The result is looser and more windswept than the bundle method, which suits a rustic front porch.
A third option is recycling. An old artificial wreath can be the base, with fresh clippings tucked into its wired branches and wrapped in place. When the season ends, pull the greenery out and store the frame for next year.
Dressing it up and keeping it green
Finish with restraint. Pinecones, berries, dried orange slices, a few bells or battery-powered string lights tucked among the branches all hold up outdoors. A single loop of jute twine or wide ribbon is usually enough. Before you add any of it, step back and fill gaps with spare sprigs, and trim stray pieces so the outline stays even.
Timing does most of the work for freshness. Cool air and a little mist, rain or snow keep a fresh wreath looking good for days or even weeks, but a wreath hung beside a heated entry or in a sun-baked doorway will brown fast. Pick a shaded, sheltered spot, such as a covered porch, and keep it away from vents and dryer exhausts.
Moisture matters just as much. Misting the wreath with water daily, especially in dry weather, slows needle drop. Some makers also dip the clippings in water and spray them with an anti-desiccant product (the kind used on cut greens and broadleaf evergreens) before assembly, which helps them hold moisture longer. It’s optional, but worth it if your climate runs dry or mild.
If the wreath is for Christmas Day, build it in the final week or two of the season, not in mid-November. Fir and cedar generally hold their needles better than spruce, so if you have a choice of what to use, favor them for the structure.
One last nuance: keep the best cuttings for the front. When the outer layer starts to brown, you can often clip off the tired tips and slide in fresh sprigs from the bucket, which buys the wreath another week without starting over.
Sources : backroadbloom.com | gingerwithroots.com