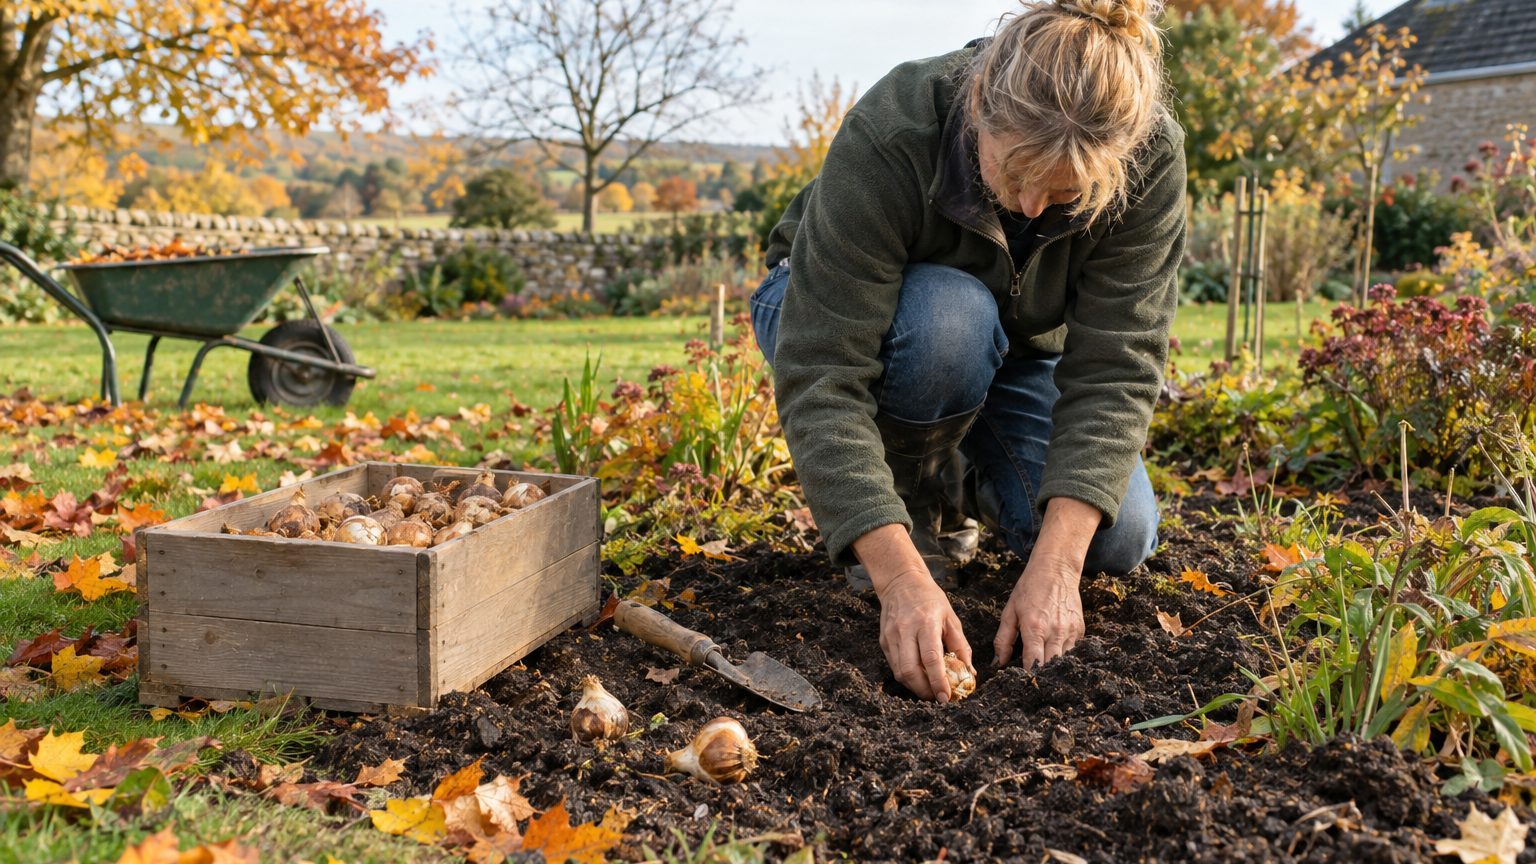
Ornamental alliums go into the ground in fall and bloom in late spring to early summer. They give you something to look forward to after the tulips and other spring bulbs quit blooming. So the job belongs on this weekend’s to-do list, not next April’s.
- Plant allium bulbs when soil cools to 60°F or colder, usually October or early November in the North.
- Set bulbs 2-3 times as deep as the bulb is tall, pointed end up.
- Space alliums 6-8 inches apart, or up to 2 feet apart for large varieties.
The timing: wait for cool soil, not a calendar date
The cue to watch is soil temperature. Growers generally recommend waiting until the soil reads 60°F or colder, which in the North means October or early November, and in the South November or early December. A cheap soil thermometer pushed a few inches down settles the question.
Another rule runs on frost. Bulb-type alliums are planted after the first frost and before the ground freezes. Several sources add a buffer: roughly four to six weeks of rooting time before a hard freeze is the goal, so roots form but tops don’t.
Ground still workable? Then you’re not late.
Cold is part of the plan, not an obstacle to it. Like all flower bulbs, alliums need a cold period to develop their roots and get ready for spring. Most types are winter hardy in zones 3-8, though one major bulb retailer lists zone 9 as suitable too. Roots form in fall, and the plants bloom in late spring. Gardeners in zones 3-5 tend to plant by late September or early October, while those in zones 6-8 can stretch into November.
Picking the spot: sun, drainage, and a crowd
Full sun is the default, although most types will tolerate partial shade. Aim for at least six hours of direct light if you want tall stems and full globes. Sun-starved bulbs tend to flop and sulk.
Drainage is the real dealbreaker. Bulbs can rot if the soil is too wet, so heavy clay and soggy corners are poor choices. If your yard is clay-heavy, mix in organic matter like compost before planting, or tuck the bulbs into a raised bed. Consider what that spot looks like in February, not just in August, because winter wet is what kills bulbs.
Plant in groups, not singles.
The Old Farmer’s Almanac puts it bluntly: standing alone, alliums tend to look odd. Another bulb supplier suggests groups of threes or fives, or scattered drifts for a natural look. A bonus for anyone with a hungry garden: alliums are loved by bees and butterflies and are not bothered by rabbits, squirrels or even deer.
Planting step by step
Start by loosening the soil, then work out your depth from the bulb itself. The standard rule is 2-3 times as deep as the bulb is tall. Size varies a lot, so large bulbs such as Globemaster go 5 to 6 inches deep, while smaller drumstick types go in at about 3 inches. The Almanac sets the giants even deeper, at 8 inches, measured from the base of the bulb. Check the package for your variety. Where sources disagree by an inch or two, the package wins.
Spacing comes next. Alliums grow less well when they fight their neighbors for nutrients, so 6-8 inches apart works for most. Big accent varieties can claim more room, up to 2 feet apart.
Set each bulb in its hole with the pointed end up, flat root-end down. That orientation matters more than people think, since a bulb planted sideways wastes energy turning itself around. If you like, add a spoonful of mild fertilizer such as bone meal to the hole, a step one gardener’s guide recommends at roughly a teaspoon per bulb.
Backfill, firm the soil gently, and water once.
That single watering is enough for now, because alliums actually prefer dry conditions. Mulch is the last step in cold regions. Mulching helps insulate bulbs from hard freezes, and a layer of shredded bark or leaves also buffers the freeze and thaw cycles that heave bulbs upward. Pull it back in spring before the shoots push through, as one grower advises.
What happens after the bulbs go in
Nothing, for months. Roots grow underground while you rake leaves and forget about the bed. Then in spring the strappy foliage appears, and the flower stalks follow weeks later, topped with globes made up of tiny individual flowers on thin, hollow stems.
Maintenance is light. Alliums do not need to be dug and divided. Once the blooms fade, many gardeners leave the seed heads in place, since the flowers continue into summer as they dry in place. Cut the stalks if you’d rather tidy up, but let the foliage die back naturally so the bulb can recharge.
Pots work too, with a catch in cold climates. Containers can’t protect bulbs as well as the ground can, so in zones 3-7 it may be better to overwinter them indoors in a cool, dark spot such as an unheated basement or garage that stays below 60°F. Make sure the pot has drainage holes, and keep the bulbs from touching one another.
One caution for households with animals: alliums are in the onion family, and they are toxic to cats and dogs. Also, the spreading reputation is overstated. Some species spread vigorously through seeds or bulbils, but many varieties do not spread at all, so if you want a bigger display next year, buy more bulbs next fall.
Sources : lifetips.alibaba.com | dutchgrown.com