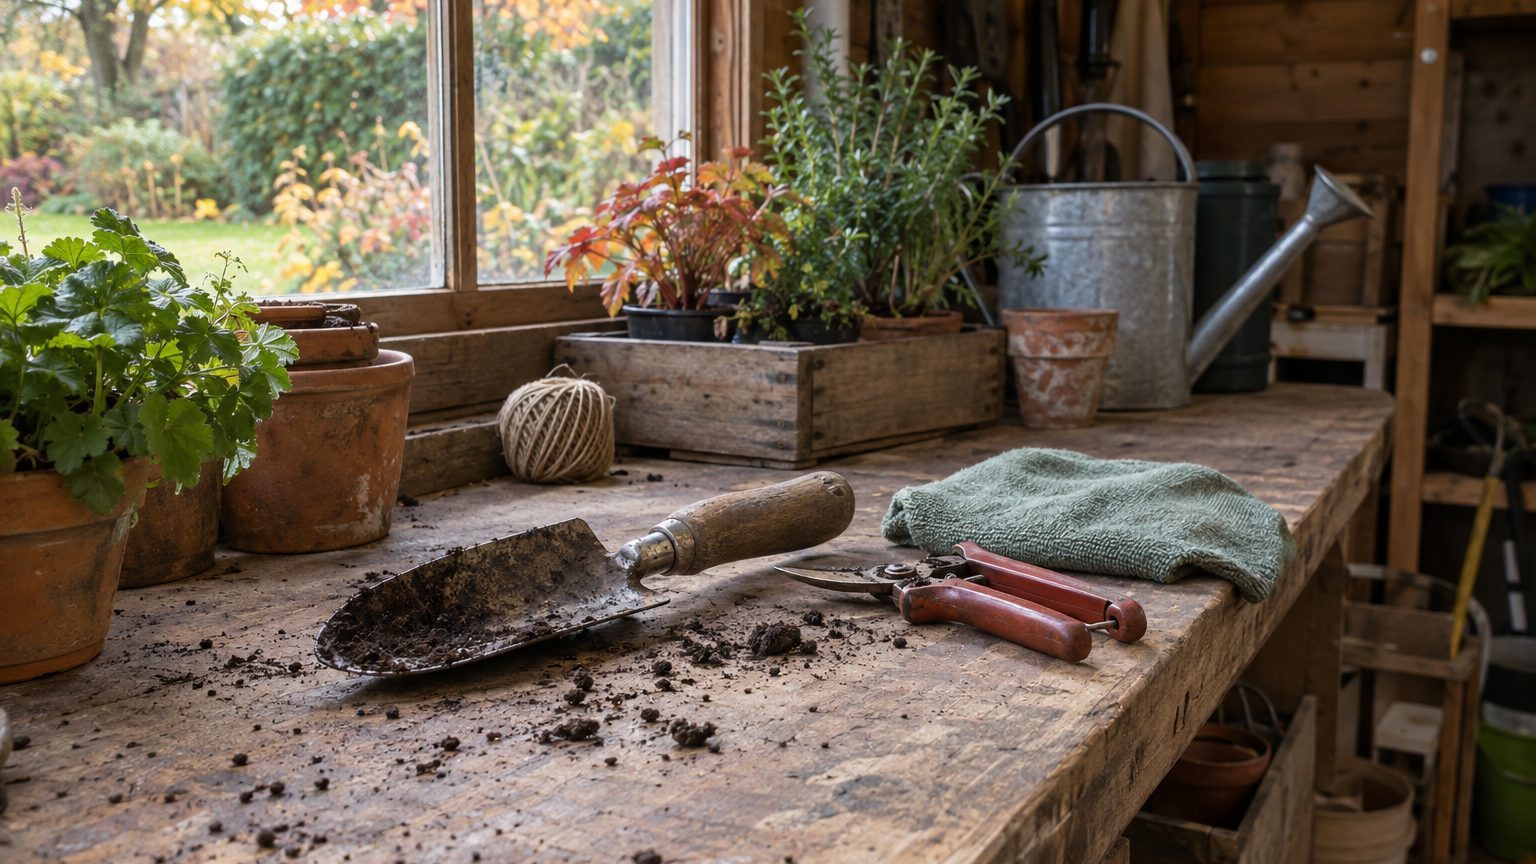
Dried soil works like a sponge. Rust needs only moisture and bare steel, and a crust of clay supplies both against the blade all winter. A trowel hung up dirty in October comes out in April pitted and stiff. It may also carry whatever the soil was carrying.
One afternoon fixes all of it.
Extension services from Georgia to New Hampshire describe the same sequence: clean, dry, sharpen, oil, store. The order matters, because each step makes the next one easier. Disinfecting slots in after cleaning for any tool that touched sick plants. Skip a step and you end up sharpening over grime or oiling over damp steel.
- Dried soil and bare steel together cause rust over winter.
- Tools should be cleaned, dried, sharpened and oiled in that order.
- 70% isopropyl alcohol disinfects pruners, while 10% bleach is recommended for fire blight-infected tools.
Start with water, a brush and a little patience
Knock off the clumps while the soil is still damp, then rinse the tools with a jet of water. Wipe every surface with a cloth soaked in soapy water. Stubborn clay may need a wire brush. Sticky sap on pruners and saws comes off with rubbing alcohol, and University of New Hampshire Extension suggests a rag dipped in paint thinner for pine pitch (follow the directions on the can).
Drying is where most cleanups quietly fail. Towel the steel dry, then leave the tools in the sun or a dry garage for an hour before they go anywhere near a wall hook.
Deal with rust now. Steel wool handles light to moderate spots on pruning tools. For heavier cases, soak the tool in white vinegar overnight, scrub it clean and dry it thoroughly. Serious corrosion can eventually make parts hard to take apart or replace, which is how a $40 pruner ends up in the trash.
Wooden handles deserve the same attention as the metal. Wipe off dirt and sap with a damp cloth, and let the wood dry fully. Sand away roughness, then coat the handle in linseed oil or paint to preserve the wood. A handle that looks gray and dry is asking for oil, and a dry handle splinters in your palm by June.
Disinfect when disease is in the picture
Not every tool needs a chemical bath. University of Minnesota Extension recommends disinfecting after working with an infected plant, before moving to a susceptible one, after using tools in another garden, and before fall storage. If your shovel only moved compost, soap and water did the job. If your loppers cut through a cankered branch, keep going.
For pruners, loppers and saws, 70% isopropyl alcohol is the practical choice. Dip, wipe or spray the blade, then let it dry. The Centers for Disease Control says concentrations of 70% or more disinfect surfaces against bacteria, fungi and viruses. Iowa State University Extension prefers alcohol for homeowners because it needs no prolonged soaking and corrodes metal less than bleach does. Alcohol is flammable, so keep it away from open flame and the shop heater.
Bleach has a place, but not on a fine edge. The standard mix is one part household bleach to nine parts water, adding the bleach to the water to avoid splashing. It works well on big tools such as shovels, spades and rakes. On cutting tools it can leave pits and nicks in the metal, so rinse it off and dry the tool completely.
Fire blight changes the rule.
Research suggests rubbing alcohol may not disinfect pruners used on blight-infected apple trees. For those tools, Iowa State recommends the 10% bleach solution instead. Oil the blades well afterward to counter the corrosion. Never mix bleach with alcohol, ammonia, acids or other cleaners.
Sharpen, oil, then hang everything where air moves
Sharpening is the step people skip, and the one that pays back fastest. A flat file or whetstone works along the beveled side of the blade, and the same applies to hoes and spades (wear gloves). A sharp pruner leaves a smooth wound with no stubs or torn bark where decay organisms can settle in, according to University of Maryland Extension. Even a shovel digs worse when its edge is blunt.
Oil comes last on the metal. Wipe on a light coat of household oil, or spray it on, and put a drop in the pivot of every pair of pruners. Even vegetable oil works in a pinch.
There is also a lazy, brilliant shortcut. North Carolina Cooperative Extension suggests filling a 5-gallon bucket with sand and mixing in a light oil. Plunge a clean tool in and out a few times, and the sand scours while the oil coats. Park the bucket by the shed door and the habit builds itself, because dipping a spade takes about five seconds.
Anything that holds liquid needs its own pass. Triple-rinse fertilizer and pesticide sprayers with water, and check the nozzle for debris before storing. Drain hoses completely and store them rolled and laid flat, since improper storage can split and crack them. Rakes go up with the tines pointing down, because a rake lying tines-up is a hazard for children and adults alike.
Cold does not hurt hand tools, and an outdoor shed is fine for the winter as long as the space stays dry. Damp is the enemy, not frost. One tool should stay out of storage: the snow shovel. Check the blade and handle, then wax the blade or spray it with silicone so wet snow slides off instead of sticking.
Sources : fieldreport.caes.uga.edu | laidbackgardener.blog