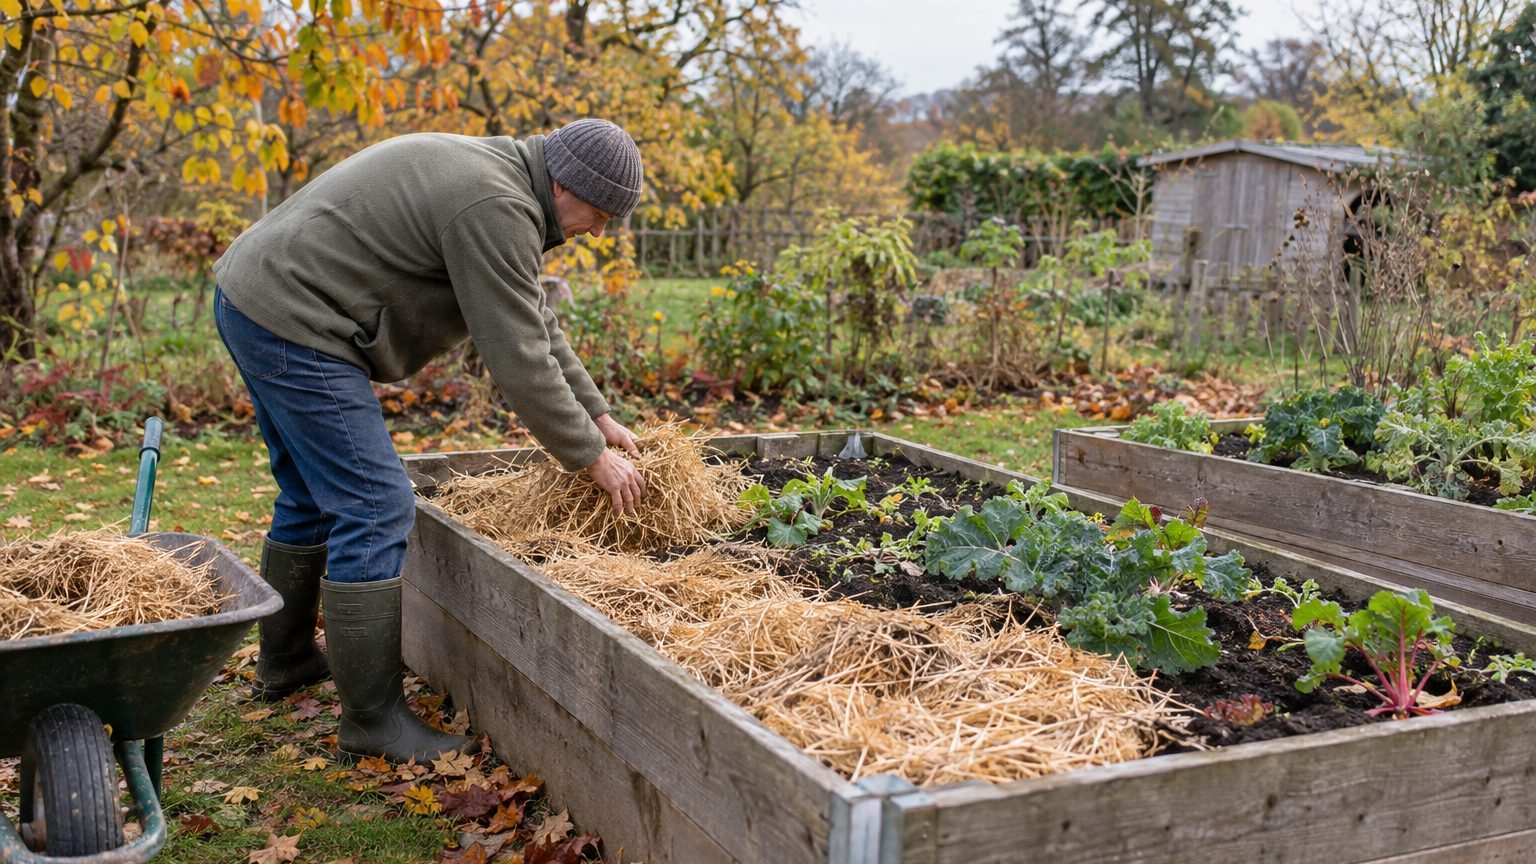
Rain and snowmelt hammer the surface of a bare bed, fine particles wash off, and freeze-thaw cycles lift roots and crack the soil’s structure. A raised bed left open to all of that doesn’t rest. It erodes. Knowing how to prepare raised beds for winter comes down to three moves, and you can finish them in one afternoon.
Clean, feed, cover.
- Raised beds erode faster than in-ground soil because they are looser and more exposed to cold.
- Diseased plants should be thrown away, not composted, so pathogens do not return.
- Mulch 3 to 6 inches deep, or sow a cover crop four to six weeks before the first hard freeze.
Why a raised bed loses ground faster than the rest of the yard
Raised beds have a built-in weakness. Land-grant research shows that they tend to settle and lose structure because of increased aeration and more frequent cropping. That loose, fluffy soil you built in April is also the soil that compacts and washes away first. Add a frame that exposes the sides to cold air, and the bed takes more punishment than a patch of in-ground garden.
Weeds are the other tenant waiting to move in. Cover crops and mulch both suppress winter weeds, while bare soil gives them a free run until March.
Covered soil comes through winter in much better shape.
Clean out, top up, and feed the soil
Start after a killing frost. Pull anything diseased or infested with insects and throw it away. NC State Extension recommends discarding these plants rather than composting them, so pathogens don’t return next season. Healthy debris can go to the compost pile, weeds should come out before they set seed, and tomato cages and stakes should be cleaned and stored.
Next, check the soil level. Soil naturally settles over the growing season, so add compost or other organic matter to bring it back up to a few inches below the frame. Top-dress with finished, weed-free compost, shredded leaves, or aged manure. Fresh manure is the one to skip.
Timing matters more than most gardeners expect. Aim to feed the bed within about two weeks of the first hard frost, while soil is still above 50°F. Soil organisms stay active during mild periods and break down amendments, so nutrients are ready when spring growth begins.
Don’t dig compost into soggy ground. Squeeze a small handful. If it clumps and smears, wait, because working wet beds collapses pore spaces and creates clods. Keep the layer reasonable too: a 12-inch slab of compost is overkill. If a soil test calls for lime, apply it now and work it lightly into the top few inches.
Mulch, cover crop, or tarp: pick your blanket
Mulch is the simplest option. NC State Extension recommends 3 to 6 inches for winter protection, using straw (not hay), pine needles, or chopped leaves, with wood chips as a top-dressing only. Other gardening guides suggest 2 to 4 inches, so don’t fuss over the exact depth. A layer of compost under the mulch keeps the nutrients from washing out.
Your lawn mower doubles as a leaf shredder.
Run it over the leaf piles and rake the pieces onto the beds. They break down and feed the soil over the winter. Small leaves don’t even need chopping. A neighbor’s bagged leaves at the curb might be the best free soil amendment on your street.
A cover crop is the other route, and it needs a head start. Sow one if you have four to six weeks before your first hard freeze. Extension recommendations include winter rye, crimson clover, Austrian winter peas, hairy vetch, and oats. Legumes add nitrogen. Oats winter-kill and leave an easy mulch you can plant directly through in spring. Rye is the tougher choice, since it germinates in cool soil and survives winter in most cold regions.
Some yards need something sturdier. A tarp helps where wind and heavy rain cause erosion and nutrient loss, and it smothers weeds too. In harsher climates, gardeners layer frost cloth or plastic over the mulch to buffer temperature swings. Anchor any cover well, because winter wind is patient.
Spring cleanup is easy. You can plant right through decomposed mulch or work what’s left into the top few inches of soil.
Protect what’s still growing
Not every bed gets emptied. Garlic, strawberries, hardy greens, and herbs all stay put, and each wants its own protection. Extension guidance includes 3 to 4 inches of mulch around garlic, mulching strawberries after several hard frosts, row covers over spinach, kale, and lettuce, and breathable fabric over tender herbs like rosemary in extreme cold. Treat these as separate jobs from the bed’s general blanket.
Wait for the ground to freeze first.
Mound extra soil or mulch around the base of borderline-hardy perennials after the ground freezes, which insulates the roots from the worst temperature extremes. Mounding too early can invite voles and rot. Small beds that double as containers offer another option: move very tender perennials to a protected spot and leave the hardy crops outside.
Finally, walk the bed with a critical eye. Check that the frame is intact and the soil hasn’t slumped, and add compost or pine bark fines if the soil has compacted. If you run drip lines or hoses to the bed, drain and store them before the first hard freeze.
Climate shifts the schedule, not the logic. In mild regions, mulch alone often does the job, while colder zones may need mulch plus a cover. If the ground is already frozen solid, skip the compost, but leaves and straw can still go on top, and a late blanket beats a bare bed.
Sources : housedigest.com | aol.com