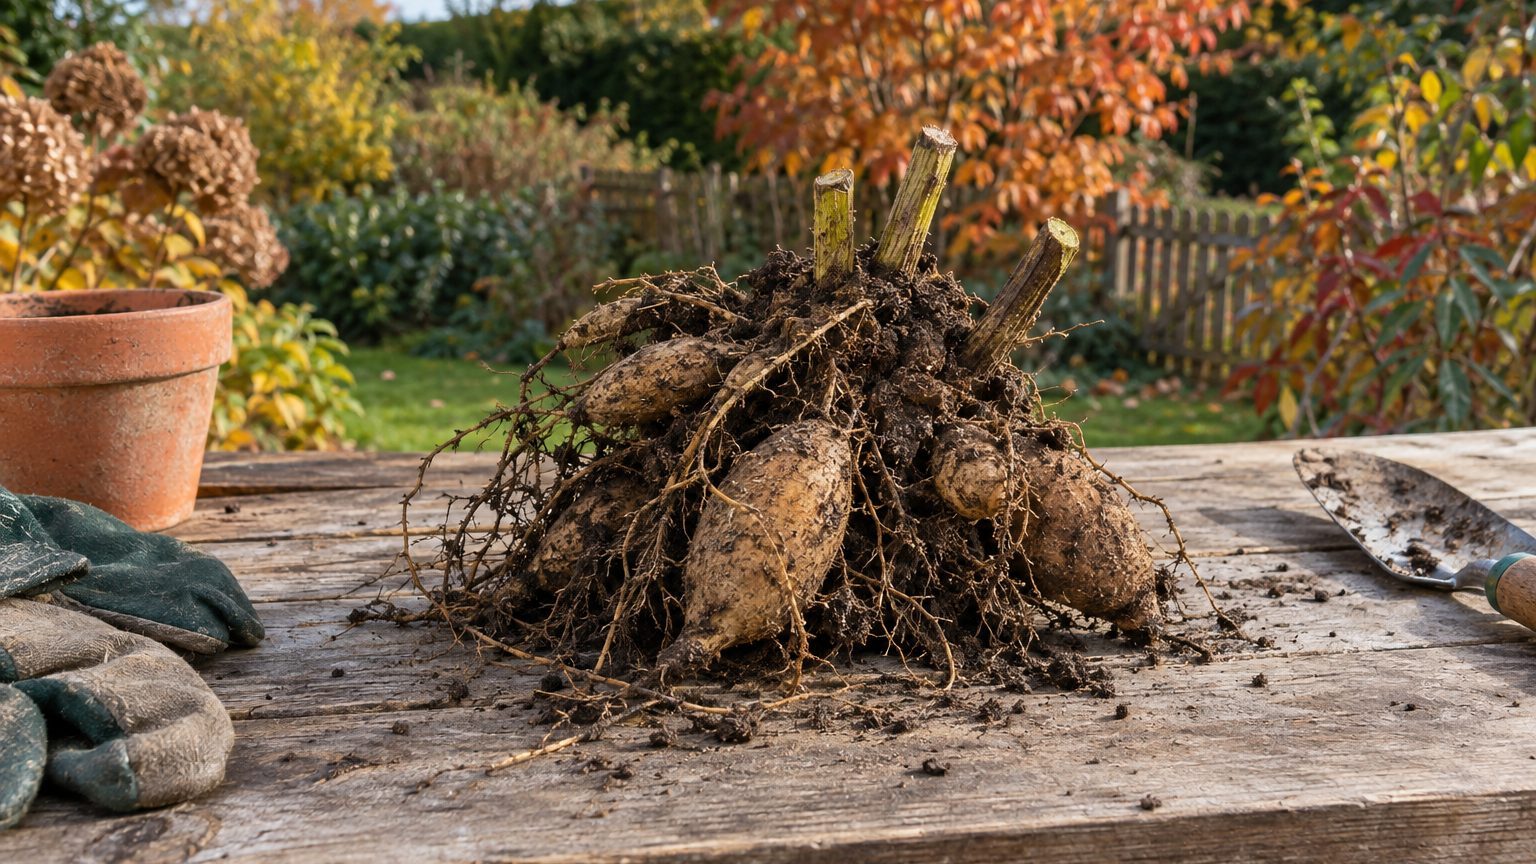
Tubers that rot in a garage usually fail for one of three reasons. They went in wet, they sat in a sealed container, or the temperature swung past freezing. The fix is a sequence: dig after frost blackens the foliage, let the clumps cure for a few days, pack them in a breathable medium, and keep them somewhere dark around 40 to 50°F. Skip one step and you pay for it in spring.
Tubers stored wet are the number one reason people open the bin in March and find mush.
- Tubers that freeze in storage burst their cells and turn to black mush.
- Hollow stems trap water after frost, and that water causes crown rot.
- Clumps should cure for several days in a cool, dry, shaded, frost-free spot before packing.
What went wrong in the garage
Start with the cold, because it’s the easiest culprit to miss. If storage drops below freezing, the water inside the tuber cells expands and bursts the cell walls, and the tuber thaws into a soft, black, mushy mess. Gardeners often blame disease, but it is physical damage from the cold. One cold snap in an uninsulated garage is enough, and you won’t see the damage until the tubers warm up.
Warmth causes trouble too. Go much past 50°F and the tubers begin to wake prematurely. Above that mark, fungal activity accelerates quickly, even if the tubers look dry.
Moisture is the real villain.
Growers talk about humidity as a narrow window. One Dutch bulb supplier aims for 38 to 50°F and 75 to 85 percent humidity. Too high and the tubers may develop mold and can rot, while too low and they dehydrate. Tubers either dry out and shrivel until nothing is left to grow, or they sit too wet and rot. That’s the whole game, and most of it is decided before the lid goes on the bin.
Dig, drain, clean and cure
Wait for a hard frost to blacken the tops. Cut the stalks to about 4 to 6 inches, then dig three to seven days later (the same day if a freeze is coming). Use a garden fork, set well away from the stalk, and lift the whole clump. A spade slices through necks, and a broken neck is an open door for rot.
Here is a step most guides skip. Dahlia stems are hollow, and after a frost they often fill with water, which can pour out if you flip a freshly dug clump over. That trapped moisture is a leading cause of crown rot. Turn the clumps upside down for a few hours, or a full day, before you do anything else.
Next comes the cleaning question, and growers genuinely disagree. Some rinse the clumps, then trim off the thin, stringy feeder roots and check each tuber for soft spots. Others leave a little soil on as insulation, which can keep tubers from drying too quickly, as long as that soil is dry before storage. If your beds are heavy clay, wash. Wet clay holds moisture against the tuber and encourages rot. Either way, drying is not optional.
Curing comes last. Let the clumps sit for a few days to a week somewhere cool, dry, shaded and frost-free so the skins dry and cuts callus over. A garage works fine for this stage, since you’re only parking the clumps for a week. Keep them off bare concrete, which pulls moisture out of them. Turn them once or twice, and keep direct sun off them.
Cure in the garage. Store somewhere else.
Packing the tubers and choosing a spot
The packing medium has one job: hold a little moisture around each tuber while letting air move. Peat moss, wood shavings, vermiculite and sand are all recommended somewhere, and they can all work. Coarse vermiculite and wood shavings have the best track record. Growers with the National Capital Dahlia Society use slightly moistened vermiculite, and say it works really well. Aim for barely damp, never soggy.
Peat moss divides the experts. Some farms swear by it, but the American Dahlia Society says dry peat tends to shrivel tubers and moist peat tends to promote rot. Penn State’s Master Gardeners also advise against cardboard boxes, newspaper and paper bags, because they wick up too much moisture. Other sources happily use cardboard, so match the container to your humidity. Dry basement? Cardboard is fine. Damp one? Use a plastic bin with the lid cracked.
Plastic wrap is the alternative for divided tubers. You roll each one in a strip of wrap, and reported rot losses run about 3 to 6 percent a year, with almost none lost to shriveling, and no monthly checks are needed. The catch is condensation. Visible moisture beads mean the tubers are essentially sweating, which sets up fungal growth. If you see beads, unwrap and dry.
Where you keep the box matters as much as how you pack it. An unheated basement, root cellar or insulated attached garage often fits the bill. A detached, uninsulated garage in zone 5 does not. If your space is prone to moisture or mold, it is not a good place to store your tubers. Put a cheap thermometer and hygrometer in the spot for a week before you commit. Real numbers beat guesses.
Winter checks and rescue moves
Open the box once a month. Firm is right, wrinkled means add moisture, and mold or soft spots mean take it away. Remove any soft tuber immediately, and if the rest look shriveled, lightly mist the packing material. Five minutes a month is cheap insurance.
White fuzz isn’t always a death sentence. Wipe the mold off with a clean cloth, let the tuber dry in a well-ventilated area for a day, and return it to storage with fresh, dry packing material. The fuzz means the environment is too humid, so loosen the lid or swap in drier medium. Skip that step and the mold returns within days.
Split your insurance, too. Put one variety per bag, and divide a large batch of the same variety into two bags, so rot in one does not take them all.
One last nuance for spring. Lightly wrinkled tubers usually recover once they’re in moist soil, but a tuber dried hard all the way through, with no firm flesh left, will not grow. Don’t drown the survivors, either. Unsprouted tubers have no roots to take up water yet, so too much water can rot them. Plant them in barely damp soil and wait for shoots before you water in earnest.
Sources : spearheadspade.com | farmgirlflowers.com