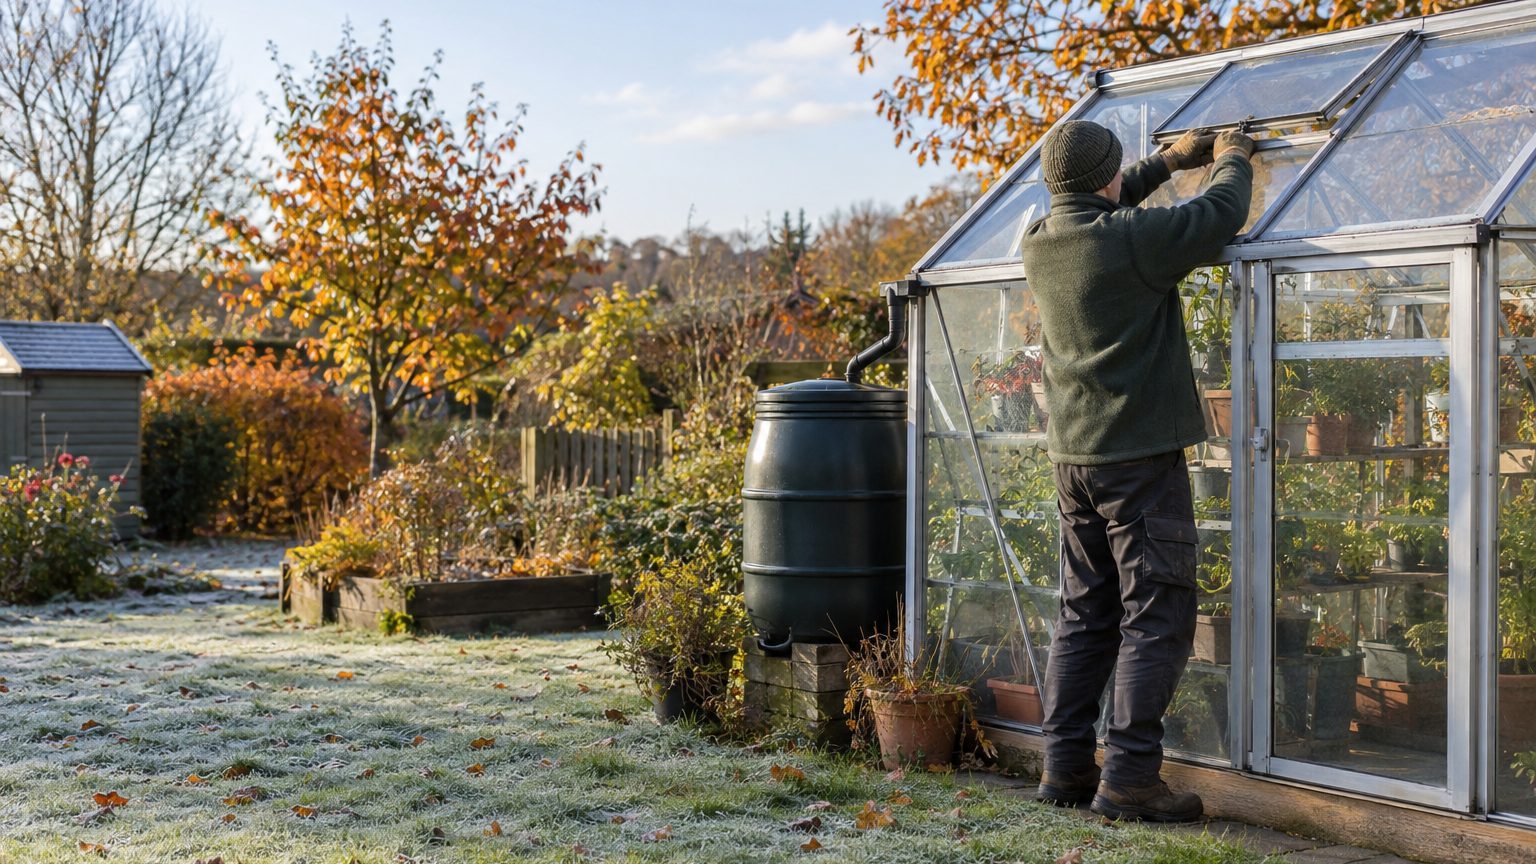
A greenhouse collects sunlight. It doesn’t make heat. Once the sun drops, a small hobby greenhouse with a single layer of glass or film starts losing warmth to the night air, and by dawn the inside can sit within a few degrees of the outdoor temperature. If you’re wondering how to winterize a greenhouse so that doesn’t happen, the answer comes in three parts: insulation, ventilation and a modest backup heater.
- Horticultural bubble wrap hung inside the glazing can cut heating costs by up to 35%.
- Water stores three times as much heat per unit volume as concrete or sand.
- Even a winterized greenhouse needs ventilation, opened for an hour on mild, dry days.
Know your number before you buy anything
Different plants need different floors. Hardy crops hold near 28°F, while tropicals need about 50°F. Michigan State University Extension, meanwhile, puts the comfortable range for most winter greenhouse plants between 60 and 72 degrees Fahrenheit.
That gap decides everything that follows. Spinach, kale and collards might need nothing more than a tight structure and a layer of row cover. A shelf of citrus, orchids or rooted cuttings of tender houseplants will need a thermostat-controlled heat source.
Write the minimum temperature for your most delicate plant on a piece of tape and stick it to the door. Everything else gets measured against it.
Insulation: trap still air, then seal the leaks
Start with the cheapest fix. Horticultural bubble wrap, hung on the inside of the glazing, traps a layer of still air that slows heat loss. Growers report that it can cut heating costs by up to 35%. Another estimate says that on single-pane glass it roughly doubles the insulation value, from about R-1 to R-2.
Details matter here. Leaving a gap of several inches between the wrap and the roof traps air more effectively, and larger bubbles let in more light than standard packing wrap. Hang it loose across the door so you can still get in and out.
Skip the roof and south wall if you can.
Winter light is thin, so clear south-facing panels are worth keeping uncovered. Put your insulation on the north side and on any wall that barely sees the sun. For the opaque parts, such as a low base or knee wall, rigid foam works well. Extension guidance suggests 1 to 2 inches of insulation board there. Cover exposed foam to protect it from sunlight and moisture.
Then hunt for drafts. Walk the structure on a windy afternoon and look for worn door gaskets, loose panels and gaps around vents, because small gaps let warm air escape all night. Bubble wrap can’t make up for a cracked panel or a door that doesn’t close. A bead of caulk or a strip of weatherstripping often does more than another roll of wrap.
Timing is its own trap. Insulate too early and a sunny October afternoon can cook your plants. Wait until frost is a week or two away, then do it all in one weekend.
Thermal mass: free overnight heat
Water is the easiest heat battery a backyard grower can get. Extension research cited by UConn notes that water stores three times as much heat per unit volume as concrete or sand. A few dark-painted barrels or jugs on the north side absorb the sun all day and release it slowly after dark. They won’t carry you through a hard freeze, but they can flatten the overnight temperature drop.
Ventilation: the step most people skip
Closing every vent feels logical in January. It isn’t. University of New Hampshire Extension stresses that even small greenhouses need a ventilation system, because they overheat fast on sunny days and trap humidity that encourages disease.
A sealed greenhouse full of damp soil and watered plants turns into a humid box. Condensation drips onto leaves, gray mold moves in, and the plants you wrapped up so carefully start rotting from the inside. The cold wasn’t the problem.
The fix is small and regular. Open a vent or the door for an hour during the mild, dry part of the day, even when the air outside is cold, and shut it again before the sun gets low. Run a small circulation fan on low to break up dead corners and keep air moving around the foliage. Put a hygrometer on the bench next to the thermometer, and open up whenever condensation builds on the glazing.
Watering habits matter just as much. Water in the morning, keep the foliage dry and ease off in the darkest weeks, since plants use far less water in low light. Less water in the pots means less moisture in the air.
Backup heat that won’t burn the place down
Insulation holds warmth but doesn’t create it. In severe or prolonged cold, you may still need a thermostatically controlled heater. For a small structure, a compact electric heater with a built-in thermostat is the simplest choice. Use one rated for damp conditions, because a standard household space heater is not built for the damp air of a greenhouse.
Plug it into a weatherproof, properly protected outdoor circuit, not a daisy chain of indoor extension cords. Have the wiring checked for corroded parts and worn insulation, as extension specialists advise for commercial houses. The same goes for a hobby greenhouse.
Propane and paraffin heaters are options, but they come with conditions. Ensure proper ventilation to avoid carbon monoxide buildup. That means fresh air coming in and a vent or flue that really does carry exhaust out. It also means that sealing the greenhouse airtight, as in the previous section, works against you. For a first-time winter grower, electric is the safer bet.
Size matters less than most people think if you shrink the space you’re heating. You can partition off part of your greenhouse and heat only that area when overwintering a small collection. A divider of bubble wrap or clear plastic cuts the volume of air your heater has to keep warm.
Finally, don’t trust your own memory of last night. A minimum-and-maximum thermometer near the plants records the real overnight low. Keep it away from direct sunlight and the heater, and consider a remote low-temperature alarm that texts you before the damage is done.
Protect the plants themselves, too. A thick row cover laid over a bed lets in more light than bubble wrap, according to Kansas State University’s Cary Rivard. It also costs about the same or less. On the coldest nights, a cover over the plants and a heater set to a few degrees above their minimum is a better plan than heating the entire greenhouse to a comfortable temperature.
One last point on timing: insulation, sealing and heater prep belong in the last stretch before frost, but fixing structural weak spots belongs earlier. A loose panel that survives October’s breezes may not survive a snow load in January.
Sources : plantagreenhouses.com | grogreenhouses.com