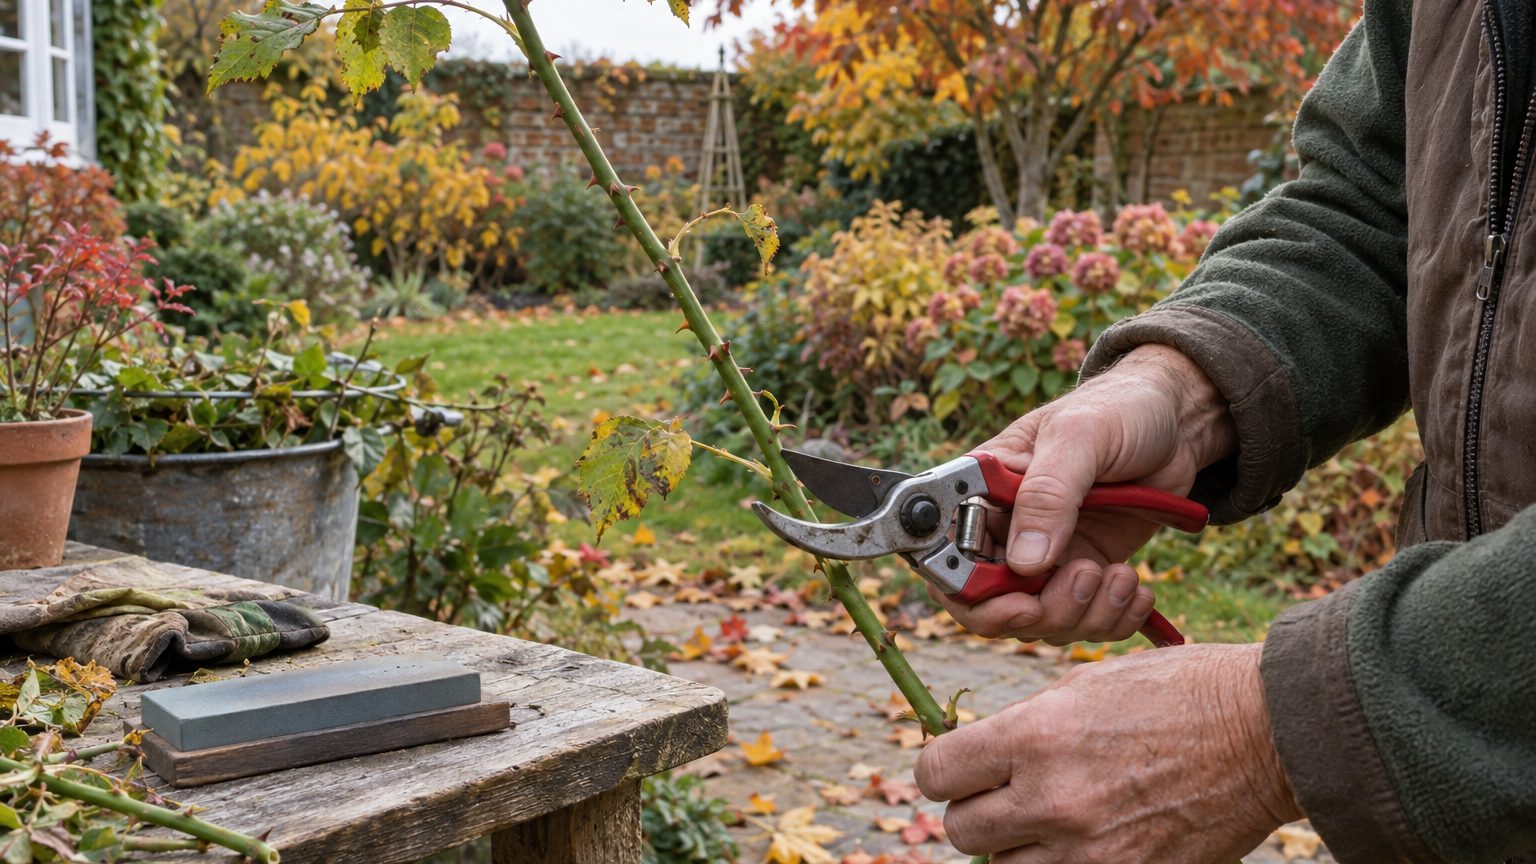
Dull pruners crush stems instead of cutting them, which invites disease into your shrubs. The tell is a brown, mashed tip a week after the cut, where a clean slice should have left a tidy wound. Cuts made with dull blades take longer to heal and can leave a plant vulnerable to disease.
The fix takes about ten minutes.
- A clean pruner cut leaves a flat, shiny face, while a dull pair frays the stem and tears the bark.
- Sharpen only the outer edge of the blade, keeping the inside face flat.
- Stop filing once a burr forms on the back of the blade, then remove it with a flat pass.
Signs your pruners have gone dull
Start with a simple test. Close the blades on a green, pencil-thin stem (a rose cane, a tomato sucker, a hydrangea twig). A sharp pair slices through with a quiet snick and leaves a flat, shiny face. A dull pair squeezes, twists the stem, and leaves a frayed edge with a flap of bark hanging off it.
Your hand will notice before your eyes do. If you find yourself squeezing harder than you did last spring, or rocking the pruners back and forth to finish a cut, the edge is gone. Late fall is a good moment to deal with it, since the tools are about to go into the shed for winter and any rust or sap left on them will sit there for months.
Before you pick up a file, look at how a bypass pruner is built. Two curved blades pass each other like scissors, and one is sharpened on the outside edge while it slides past a thicker, unsharpened blade. That means only one surface needs work, and the rest of the tool should be left alone. Hand files and whetstones can’t reproduce the subtle hollow-ground shape of the inside of the blade, so no sharpening should happen there. The hooked lower blade shouldn’t need any sharpening either.
The flat inside face stays flat. Always.
What to gather and how to prep the blades
You have two good options. A diamond file is the easier one for beginners, because a thin diamond file can sharpen without dismantling the pruners. A whetstone works just as well but takes a bit more feel. If you go with a stone, soak it first: about ten minutes in water before use, which keeps the pores clear and carries off heat from friction.
Cleaning comes first, and it matters more than people expect. Scrub off sap and grime with warm, soapy water and a scrubby sponge, then dry the pruners. Coarse steel wool takes off rust, and badly rusted blades can soak in WD-40 for 10 minutes first. A clean blade shows you the bevel clearly, and that bevel is your guide for the whole job.
If the pivot bolt comes apart with a hex key or wrench, take the pruners apart. A detached blade is much easier to work on, and photos taken during disassembly help you put everything back together. If the nut fights you, skip this step and sharpen the assembled tool, taking care that the file touches only the blade.
How to sharpen pruners with a file or a stone
The whole job comes down to angle. Most pruners perform best at about 22.5 degrees, but you don’t need to measure anything. Set the file at the same angle as the factory bevel on the blade, and hold that angle through every stroke. Think of it as retracing a line that’s already drawn.
Work in one direction. Move from the heel of the blade toward the tip, following its curve, pushing the file away from your body and lifting it on the return. Sawing back and forth rounds the edge and clogs the file. Keep the file dry as well, because oil makes metal shavings stick in the teeth. Light, even pressure does more than muscle. With a stone, the motion is the same: an even, gentle pressure drawing the stone along the blade from hilt to tip.
Stop when you can feel a burr on the back of the blade.
That burr is a thin curl of metal pushed over the edge, and it proves you’ve ground all the way to the cutting line. Flip the pruner and lay the file flat on the back and make a few passes to remove it. Keep the file truly flat here, because tilting it would put a second bevel on a face that must stay straight. Then reassemble, and give the pivot and the space between the blades a coat of oil to lubricate the moving parts and prevent rust. General-purpose oil or mineral oil both work.
Test it on a green stem. A good edge will slice through without crushing or tearing it. If the stem still bruises, the likely cause is a missed spot near the tip or a burr you didn’t fully remove, so go back for a few more strokes rather than starting over.
Keeping the edge once you have it
Frequent touch-ups beat rare overhauls. One landscape contractor goes so far as to recommend sharpening before every use, and he says it takes only a minute. That’s a sensible habit if you prune a lot, and it means you’ll rarely need to take the tool apart. A few light passes with the file at the bevel angle, a quick wipe, and you’re done.
Check the pivot, too. Over time, pruners can develop a gap between the blades, and a loose pair will fold thin stems between the blades however sharp the edge is. Snug the pivot nut until the blades meet with no wobble and still close freely.
Know when to quit, though. A blade with a deep chip, a bend, or a bolt that has stretched its hole is past what a file can fix, and many pruner makers sell replacement blades that cost far less than a new tool. Sharpening restores an edge, but it can’t repair damaged steel.
Sources : extension.unh.edu | toptenreviews.com