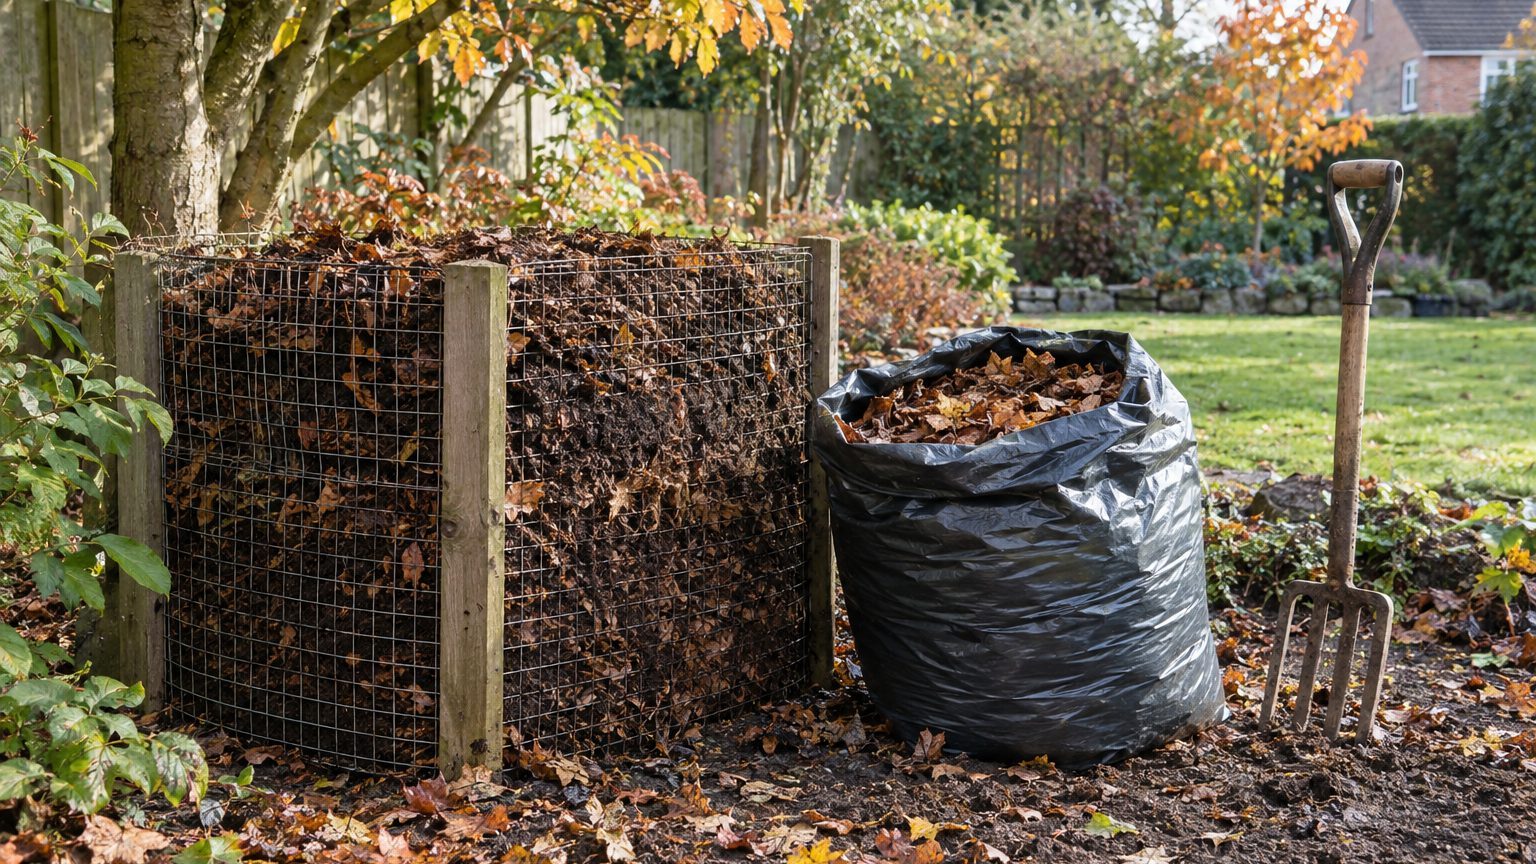
Plan on 6 to 12 months if you shred the leaves, keep them damp and use a bag or small bin. Plan on 1 to 3 years for a pile of whole leaves left to itself. Extension guidance from the University of Florida puts a well-managed pile at
anywhere from six months to two years, depending on leaf type, moisture, and ambient temperature.
How long does leaf mold take to rot down
Leaf mold is slow because of chemistry. Fallen leaves are high in carbon and low in nitrogen, and North Carolina Cooperative Extension notes that
carbon takes a lot longer to break down than nitrogen-rich materials such as grass clippings.
Fungi do the work, not the heat-loving bacteria of a hot compost pile. The result is a
cold process that’s less labor-intensive than hot composting but slower.
A hot pile can finish in weeks. A leaf pile works on the calendar.
Method sets the baseline. Here are realistic windows, from fastest to slowest:
- Shredded leaves in a moist bag: about 6 to 12 months. Extension guidance for bagged leaves says that
after six months to a year, you will have finished leaf mold. - Shredded leaves in a bin or cage: roughly 6 to 12 months in warm, damp conditions, and up to two years in cooler ones.
- Whole leaves in a well-sized, moist pile: around 1 to 2 years. A pile needs to be
fairly substantial in size, in order to retain enough moisture and heat to get finished leaf mold within 12 months. - Whole leaves, dry and ignored:
An unattended pile of dry leaves could take three years or more to break down.
Leaf species matter too. Thin leaves such as
birch, cherry, and maple break down in a year or less, while thicker ones like oak or chestnut take longer.
Magnolia sits on the slow end too, since its leaves are waxy and thick. Sycamore is another slow one, and the cause is lignin,
a complex organic polymer that forms thick, rigid cell walls.
Expect the tough group to need
18 to 24 months or more
unless you shred them and keep them wet.
Pile size and climate fill in the rest. Florida’s extension office recommends a pile
at least three feet wide and three feet tall to maximize decomposition.
A pile that small in a Minnesota winter will sit frozen for months, and decomposition slows to a crawl while it is frozen. A similar pile in Georgia keeps working through a mild winter. Warm and damp is the combination you want, and you can only partly control it.
What “finished” looks like
Calendar dates are only estimates, so check the pile itself. Finished leaf mold is
dark and crumbly with an earthy smell, with little resemblance to the original fallen leaves.
A pile that has visibly shrunk is a good sign, though shrinkage alone doesn’t tell you it’s done. If you can still read the veins on whole leaves, give it more time. You can still use it, as the last section explains.
How to make leaf mold quickly
Shredding gives a big return for little effort. Smaller pieces expose more surface to fungi, and shredded leaves also hold moisture better than whole ones. North Carolina’s extension advice is to
run over them a couple of times with your lawn mower
before they go into the pile or bag. A mulching mower or a leaf vacuum with a shredding impeller does the same job. The extra bonus is volume: shredded leaves pack down so tightly that a bin holds far more of them. (The full step-by-step is in our guide on how to make leaf mold.)
Water comes next. Leaves that go into a pile dry will sit there for years. Moisten them as you build the pile, and again later,
particularly in dry weather.
The target is about as damp as a wrung-out sponge. Soggy is no better than dry, because a waterlogged, compacted layer shuts out the air that fungi need.
Bagging is a low-effort way to speed things up. Fill a heavy-duty trash bag with shredded, damp leaves, poke a few holes in it, and stash it behind the garage. The bag holds moisture far better than an open pile, which is why it can finish sooner than an open pile. Check it every month or two, as the extension guidance suggests, and add water if the leaves feel dry. We cover the technique in detail in how to make leaf mold in plastic bags.
Two more tweaks help, though each has a catch.
First, a handful of nitrogen. Autumn leaves are high in carbon, so
the lack of nitrogen becomes the limiting element
, and sprinkling in grass clippings or another nitrogen source as you build the pile can speed things up. The catch is that more nitrogen pushes the pile toward ordinary composting and changes the final material. If you want to know how far that shift goes, read leaf mold vs compost.
Second, an inoculant. A few shovelfuls of finished compost, garden soil or last year’s leaf mold bring in extra decomposers. Gardeners often compare it to a sourdough starter. Fungi already live on the leaves, so it isn’t required, and the effect is modest compared with shredding and watering.
Turning is optional, since fungi
can do their work without being turned.
Fluffing the pile every few months still redistributes moisture. North Carolina’s extension suggests turning every few weeks if you want speed. Sticking a fork in a compacted, slimy layer takes two minutes and is worth it.
Leaves from a black walnut tree need one extra precaution. They can be composted, but if you worry about juglone, the compound that stunts some plants,
compost them separately for at least six months before using them.
Keep them out of the batch you plan to spread on tomato beds.
How to make leaf mold for soil amendment
You don’t have to wait for the perfect finished product. Leaf mold at different stages is useful for different jobs, and that changes the real answer to “how long.”
At 3 to 6 months, shredded leaves are partly broken down, with a rough, ragged texture. That is a good mulch around established shrubs and perennials, where it suppresses weeds and holds in moisture. At 6 to 12 months, the material is coarser but crumbly. It works well dug into vegetable beds or spread across the lawn in a thin layer. Once it is fully broken down, after 12 months or more depending on method and leaf type, you get the fine, dark, soil-like leaf mold that suits seed starting mixes and potting blends.
The payoff is mostly physical. Leaf mold isn’t a fertilizer, and Iowa State University Extension, as relayed by one gardening publication, describes its value as improved
soil aeration, structure, and moisture retention, even though it contains relatively few nutrients.
One North Carolina extension document refers to unnamed university studies reporting that leaf mold
increased water retention in soils by over 50%.
Sandy soil holds water longer, and clay loosens up. That’s why patience pays off for gardeners with either problem.
Harvest from the right spot. The Florida guidance says to
dig from the bottom or center of the pile where decomposition is most advanced.
Spread it and
incorporate it into the top 4 to 8 inches of soil, ensuring you don’t disturb plant roots.
On established beds, skip the digging and lay it on top as mulch. Earthworms will pull it down for you.
Whatever timeline you land on, start a new pile every fall. A shredded, bagged batch made this November may be ready by next autumn, and a whole-leaf pile may not be ready until the autumn after that. Starting a new pile each year should give you a steady supply of finished leaf mold from then on.
Sources : blogs.ifas.ufl.edu | site.extension.uga.edu | growingwithnature.org