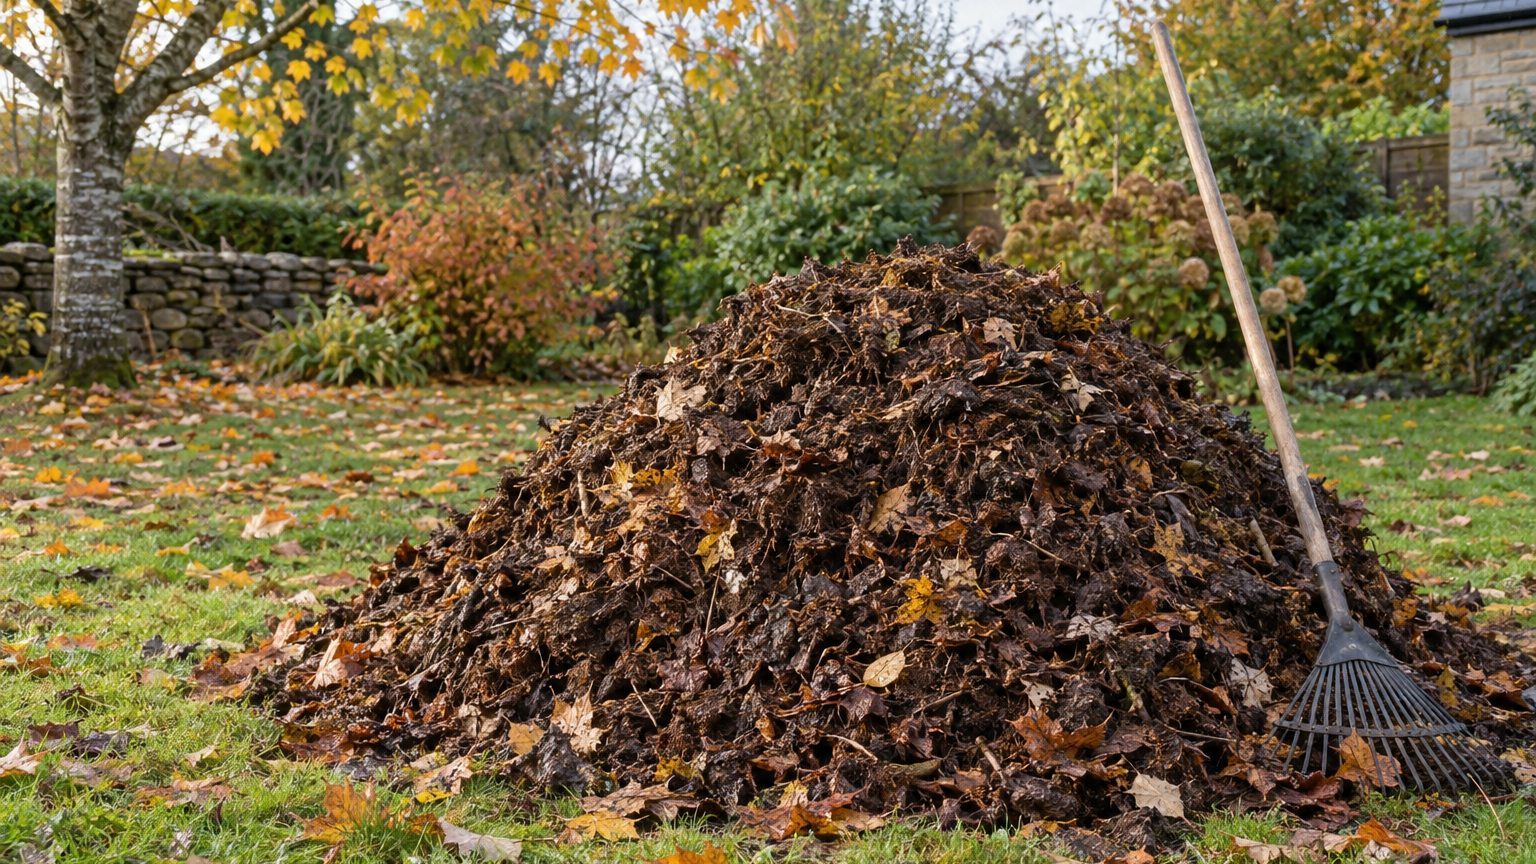
Rake the leaves into a pile at least three feet wide and three feet tall, soak it, and leave it alone. That’s the whole method. North Carolina Cooperative Extension says
the decomposition process for leaves takes at least six to twelve months
, and UF/IFAS Extension puts the range at
six months to two years, depending on leaf type, moisture, and ambient temperature
. The work takes an afternoon. The waiting is the hard part, and if you want a closer look at timelines, see How Long Does Leaf Mold Take?
What you get is a dark, crumbly, sweet-smelling material that works as a soil conditioner and mulch. It costs nothing, and you probably already have the raw material in your yard. If you’re still deciding between composting, mulching and leaving things alone, the guide on what to do with fallen leaves lays out all the options. This page covers the leaf mold route from start to finish.
How to make leaf mold compost
The name causes some confusion. Leaf mold is not a fungus, despite the word “mold.” As a soil scientist at the University of Connecticut explained to This Old House, it is
a type of organic matter
produced when leaves partially or completely decompose. North Carolina’s extension service goes further and calls it
just that: composted leaves
. The difference is in the engine.
Leaf mold uses only carbon-rich leaves decayed by fungi
, a cold process, where a hot compost pile relies on bacteria and heat. For a deeper look at how the two materials differ, see Leaf Mold vs Compost.
Pick your leaves and your spot
Any deciduous leaf will do. Maple, birch, ash and most other trees that drop their leaves in fall are fine. Some leaves take longer than others, though. UF/IFAS notes that
sycamore decays more slowly because of higher lignin levels
, the rigid polymer in thick cell walls. Gardener’s Supply says oak and holly fall into the same slow category, and recommends
combining different types of leaves, like a mixed salad
, to balance things out.
Black walnut leaves are a special case. The Old Farmer’s Almanac says they can be composted, but if you’re worried about juglone (the compound walnuts use to suppress neighboring plants),
compost them separately for at least six months before using them
.
For the location, Fine Gardening suggests
piling the leaves in the shade where evaporation is reduced, so the leaves stay moist
. A back corner works well. Pick a spot you can reach with a wheelbarrow and where wind won’t scatter the pile.
Build the pile or bin
You have two sensible options. The first is a free-standing heap. The second is an enclosure made of wire fencing, untreated wood pallets, or a store-bought compost bin. UF/IFAS lists
any large refuse container, compost bin, or corral made from untreated wood pallets, chicken wire, or cattle fencing
. The enclosure keeps leaves from blowing around and makes the heap look tidier, which the neighbors may appreciate. If you’re short on space, there’s also a third route: How to Make Leaf Mold in Plastic Bags explains how to do it with nothing more than a few bags.
Size matters more than the container. Both North Carolina and Florida extension sources put the minimum at three feet wide and three feet tall. Gardener’s Supply suggests an enclosure
4 or 5 feet square
. A smaller pile tends to dry out and stall, because it can’t hold moisture the way a bigger mass does.
Wet it down, then wait
Moisture is the one input that decides how fast you get results. Gardener’s Supply states it bluntly:
fungi are doing the work, and they need a moist environment
. Their warning is stark.
An unattended pile of dry leaves could take three years or more to break down
. Keep it covered and moist, and the same pile may be usable in about a year.
The target is the dampness of a wrung-out sponge. Water the leaves as you add them, because Fine Gardening points out that
enormous amounts of water
are needed to soak a finished pile of spongy leaves. Cover the top with a tarp if your area gets dry spells or heavy rain. Then check it every month or two. North Carolina’s guidance is to look at moisture occasionally during dry periods and add water if necessary.
You’ll know it’s ready when the pile has shrunk well below its original height and the bottom layer looks like dark, crumbly soil with no recognizable leaf outlines. The Cape Gazette describes finished material as
dark brown, almost black, spongy, with a pleasant forest smell
. A sour or rotten odor means the pile is waterlogged and short on air, so fluff it with a fork.
How to make leaf mold quickly
“Quickly” is relative. Nothing here produces finished leaf mold in a month. But a few changes can cut the wait from two or three years down to roughly six months to a year. They’re ranked below by how much they help.
Shred first. This is the single biggest lever. Whole leaves mat together into wet, airless layers, while shredded ones expose more surface to fungi. The easiest tool is the one in your garage. As Gardener’s Supply puts it,
run over them with the lawn mower a few times and then rake them up
. A leaf shredder or a vacuum with a shredding function also works. If your mower has a bagger, empty it often, because the Almanac warns that
the bag can get heavy, especially when the leaves are damp
.
A side benefit: bagger-collected leaves usually pick up some grass clippings. Grow a Good Life notes that this
helps kickstart decomposition
. That fits with the chemistry. Autumn leaves are short on nitrogen, so Fine Gardening recommends
sprinkling some high-nitrogen material on the pile as it is built
. Fresh grass clippings qualify.
Use fresh leaves. Timing counts. Gardener’s Supply explains that freshly fallen leaves hold some nitrogen, and
leaves that have been on the ground for just a few weeks will have already lost most of their nitrogen content
. Gather leaves soon after they drop. One caveat on the numbers: sources disagree on how carbon-heavy leaves really are. Gardener’s Supply cites a carbon-to-nitrogen ratio around 30:1 for fresh leaves, while UGA Extension gives a typical figure of 60:1. Either way, leaves are carbon-rich, and a little added nitrogen helps.
Add a scoop of forest soil. A UGA Extension agent suggests walking to a wooded area, digging below the fallen leaves, and scooping up the topsoil. Mixed into your shredded leaves, it
“inoculates” the chopped leaves with micro-organisms and kick-starts the fungal process
. That recommendation comes from a single extension office, so treat it as a low-cost experiment rather than a guarantee.
Try the bag method. Bags hold moisture better than open piles, which is why they’re popular with people who have small yards and big oak trees. The recipe from North Carolina: fill a large plastic bag with leaves, moisten them, seal it, and
cut some holes or slits in the bag for airflow
. Check it every month or two and add water if the leaves look dry. For full step-by-step instructions, see how to make leaf mold in plastic bags.
Which of these shortcuts you pick depends on your yard. A shredded, moistened, bagged batch can reach the finish line in six to twelve months, according to North Carolina’s guidance. A big untouched pile might need two years or more. The page on how long does leaf mold take breaks down the timeline by method and leaf type if you want to plan around a specific planting season.
Leaf mold vs compost
Gardeners often assume leaf mold is just slow compost. They’re related, but they do different jobs. Compost is built from a blend of greens and browns, and its job is feeding plants. Leaf mold is built from leaves alone, and its job is changing how soil behaves. North Carolina Extension says that leaf mold
doesn’t provide much in the way of nutrition
, so you will still need compost or other organic fertilizers for fertility. They describe it as
essentially a soil conditioner
that increases water retention.
The same document reports that
according to some university studies, adding leaf mold increased water retention in soils by over 50%
. Treat that as a ceiling, not a promise, since results depend on your starting soil. But sandy beds that dry out by July are exactly where leaf mold earns its keep. Clay beds benefit too, because the spongy, partly intact leaf fragments open up the structure. A fuller comparison is in leaf mold vs compost.
The two also differ in effort. Hot composting means balancing ingredients and turning the pile on a schedule. For leaf mold, as the Almanac puts it, there’s
no need to carefully balance kitchen scraps and yard waste or regularly turn a hot pile
. There’s also less risk of attracting animals, since there are no food scraps involved. If you’d rather speed things up and add leaves to a conventional pile, how to compost leaves covers the hot method.
Putting finished leaf mold to work
Use it generously. UGA Extension suggests
a 2-inch layer as mulch
, and says that worms and micro-organisms will pull the material down into the soil. The same source adds that mulching this way reduces weed pressure. You can also dig it into beds in early spring, or screen it through a sieve and use it as one ingredient in a potting mix, as the Almanac suggests.
Half-finished leaf mold is still useful as mulch. Don’t wait for perfection.
One thing to avoid is tilling raw, freshly fallen leaves directly into a vegetable bed. UGA Extension explains that soil microbes then
use the existing nitrogen in your soil to break down the leaves
, leaving less for your plants. Let the leaves finish breaking down in their own pile first, and spring planting will go better.
Sources : rhs.org.uk | theguardian.com | gardeners.com